Last Updated on May 4, 2021 by Rupesh Patil
When you buy an HDTV, you will likely be told that you need to contact customer care to have someone come to set up your TV. However, in most cases, installations/set up are not free, and you will be required to pay the serviceman to install your TV correctly. But it is possible to set up an HD TV on your own after you unbox your purchase.
Fixing the Stand
Subscribe to Onsitego
Get the latest technology news, reviews, and opinions on tech products right into your inboxIf you are wall mounting your new TV, you will require the serviceman to come do it because it requires precise drilling and setting up.
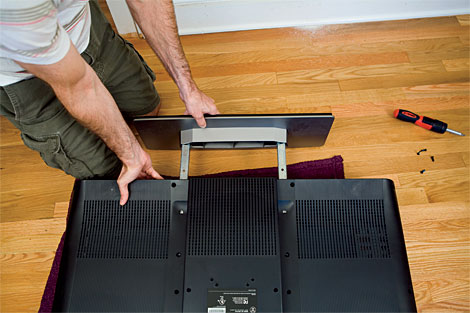
However, if you want to install the TV on its stand, the instructions will be available in the manual that comes with your TV. More often than not, it is a simple fix with some screws and the manual instructions are quite unambiguous so you can do it yourself.
HDMI Cables
For HD TV video cabling, the options available are HDMI and component (red/green/blue), but in most cases, HDMI is the only one you need/can use. HDMI cables carry high-res images and sound over one cable. For a TV you bought at a store, you will probably be talked into buying an expensive HDMI cable to go with it, but please be warned that buying a high-priced HDMI cable will not offer you any additional benefits.
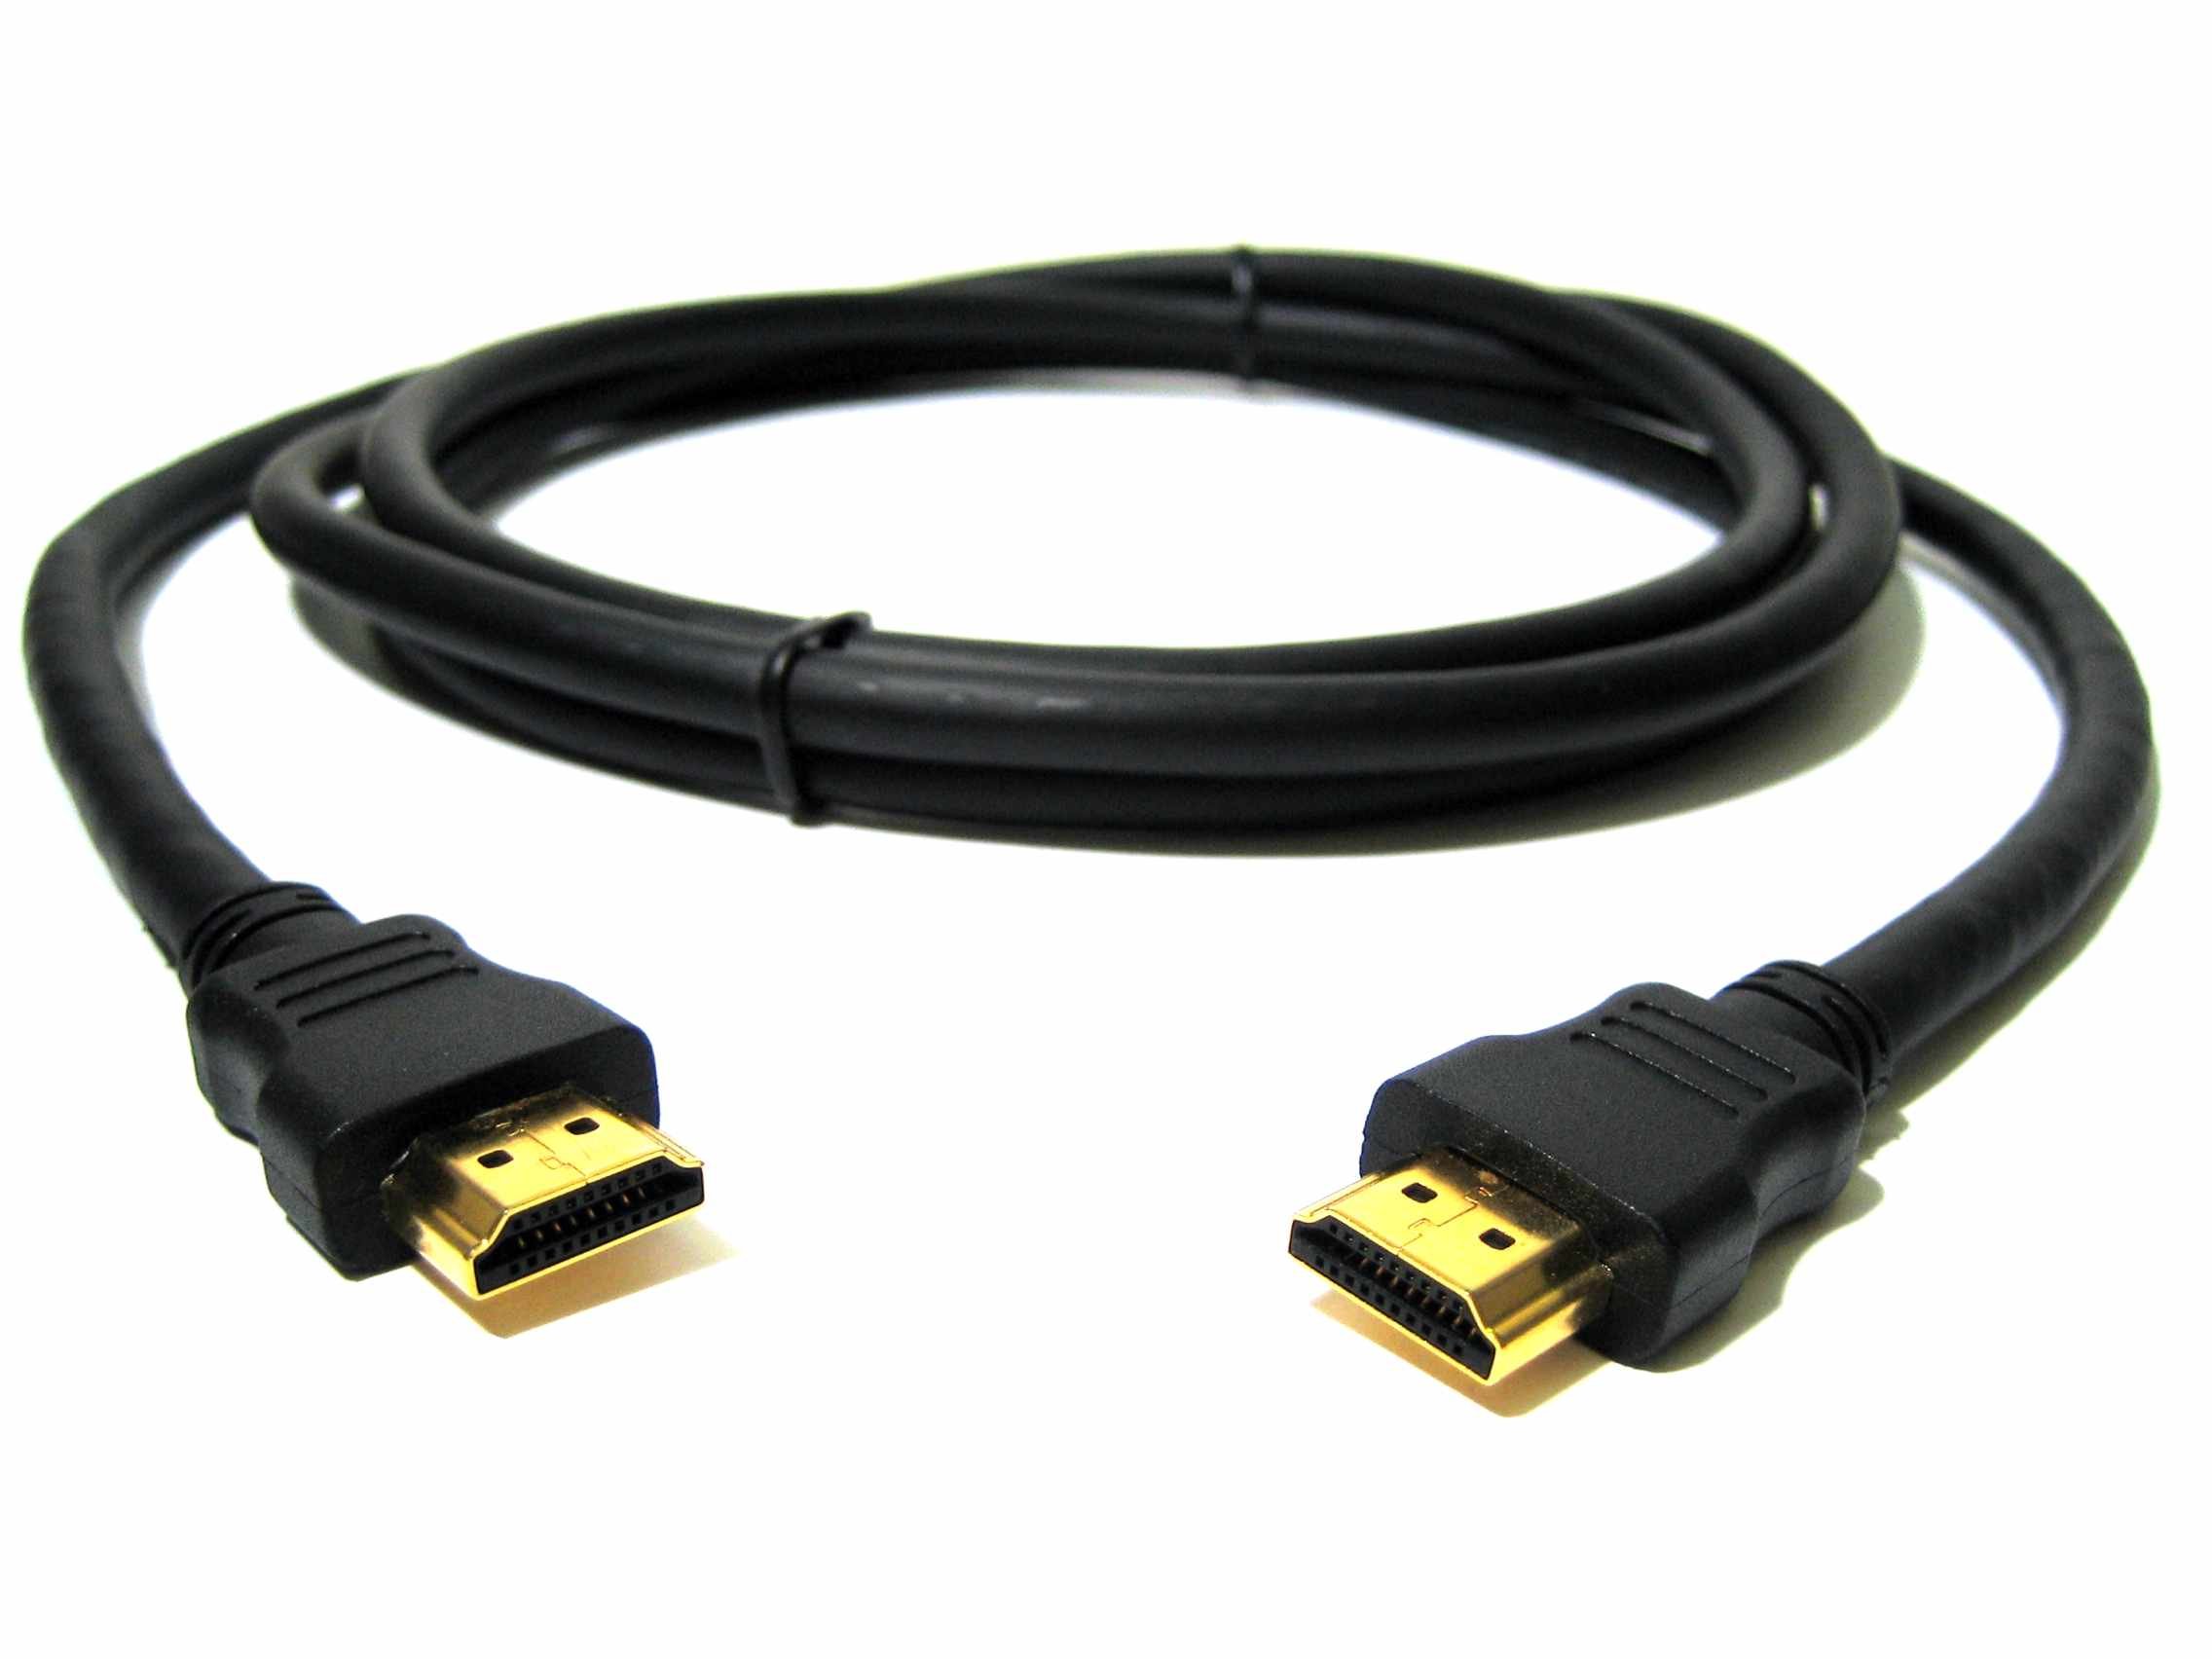
Some might argue that a more expensive HDMI cable will be more rugged, with thicker casings, a chunkier connector, and higher potential durability. But keep in mind that you do not need signal transmission over a long distance and a beefier plug might either fall out or pull on the connector.

You will not require more than a few feet of HDMI cabling to run from your Blu-ray player or cable box to your TV. Even the cheapest HDMI cables will work over such small distances. In terms of the working of HDMI cables, there really is no difference in quality of signal offered by a Rs. 1200+ HDMI cable and a Rs. 175 cable. You will get perfect image and sound even with the cheaper cable. So if you are being coerced into buying an expensive HDMI cable, politely decline and get on with the purchase.
The only thing to note here is if the picture you are getting doesn’t flicker or isn’t sparkly. If that happens, it is likely that your HDMI cable is damaged and a cheap alternative may be a good replacement. Also, if you are sending 1080p (from a Blu-ray player), just opt for an HDMI cable that is “High Speed” to stay with the correct specification. Otherwise an HDMI cable worth Rs. 149 will do that job just as well as one worth Rs. 1999.
Source
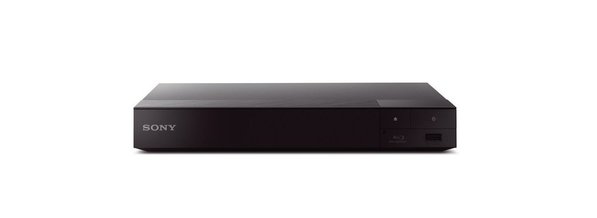
You will get very good results if you connect your Blu-ray player to your new HD TV. It will auto-detect if your TV needs 1080p, and accordingly send the signal. If you buy a HD TV, it is an excellent investment to buy a good Blu-ray player, and only recently, Sony has launched the BDPS6700 4K Upscaling 3D Streaming Blu-Ray Disc Player that can be an excellent addition to your viewing system. Any other Blu-ray player will also bring out your HD TV’s capabilities to the fore.
If you have a DVD player instead, go to the setup menus and set the output to 16:9 aspect ratio for superior performance.
Your set top box (STB) should also be set to 16:9. If it is capable of HD, call your service provider and ask for an upgrade to HD channels. You may need to upgrade your STB to a different one for getting HD channels, and there might be additional costs involve because your package price will increase. But the resultant image quality will be superior, and you will get a beautiful output on your new HD TV.
Even when you connect your source to a sound bar or speaker, chances are a single HDMI cable runs from the source to the TV. So, the TV is not sending any output to the sound bar. What you need then is an optical cable (or your HD TV might also have a coax digital) to sort out the audio issues.
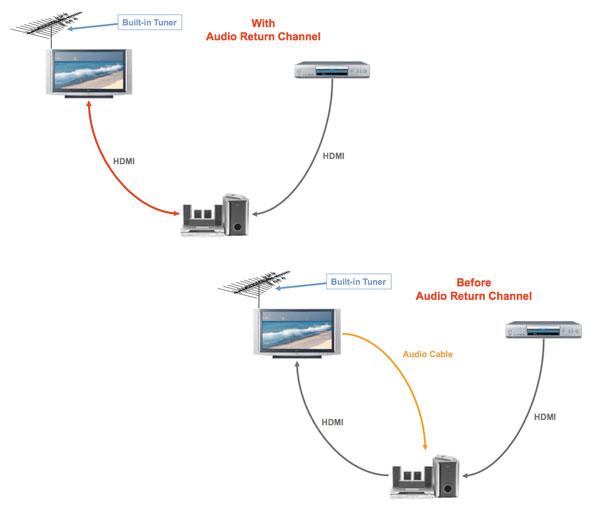
Most HD TVs now have ARC, or Audio Return Channel to send the TV’s audio back down the HDMI cable to the sound bar. Just make sure that both the TV and the sound bar are ARC-compatible (the TV might have this marked as Input 2). Your HDMI cable should work, or you may need an inexpensive HDMI cable with ARC capability.
Calibration
Once you have the hardware in place, switch on the TV. If you have bought a Smart HD TV, make sure all the firmware is updated because some brands might delete any changes you make in the settings when it updates the firmware later.
Next, you need to calibrate the TV for the best viewing experience. The simplest way to do this is to choose the correct picture mode for your TV. In TV stores, the picture mode is set to Vivid or Sports for that extra brightness under large lights. But at home, playing on this mode might wash out the picture. Another problem with this mode is, unlike in the store, you do not need edge enhancement at home, so keeping the TV on this mode might add some subtle halos around images to make them appear sharp while actually masking finer details.
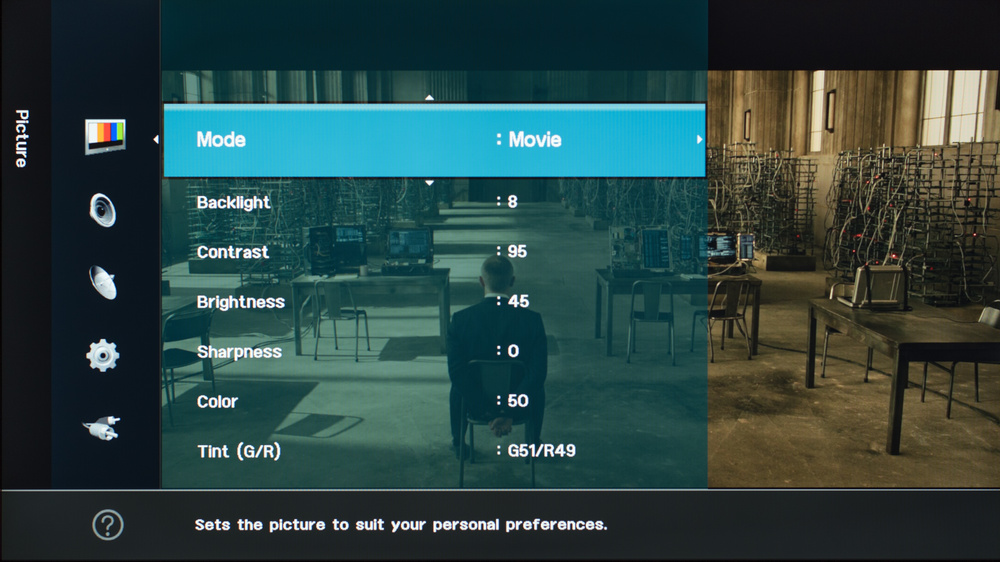
The ideal setting then is the Movie or Cinema mode, which makes the picture appear more realistic.
To set the brightness of the TV, opt for something like The Dark Knight to play while you calibrate. The way to do this is to turn down Brightness till everything appears black. Then start turning it back up till you get an image that is clear but not washed out.
To set Contrast, play something that has a lot of bright areas in the picture. A cricket match is a good choice. Turn contrast up till you lose detail. Then start turning it back down again till you see good detail. The image should still be bright with highlight detail.
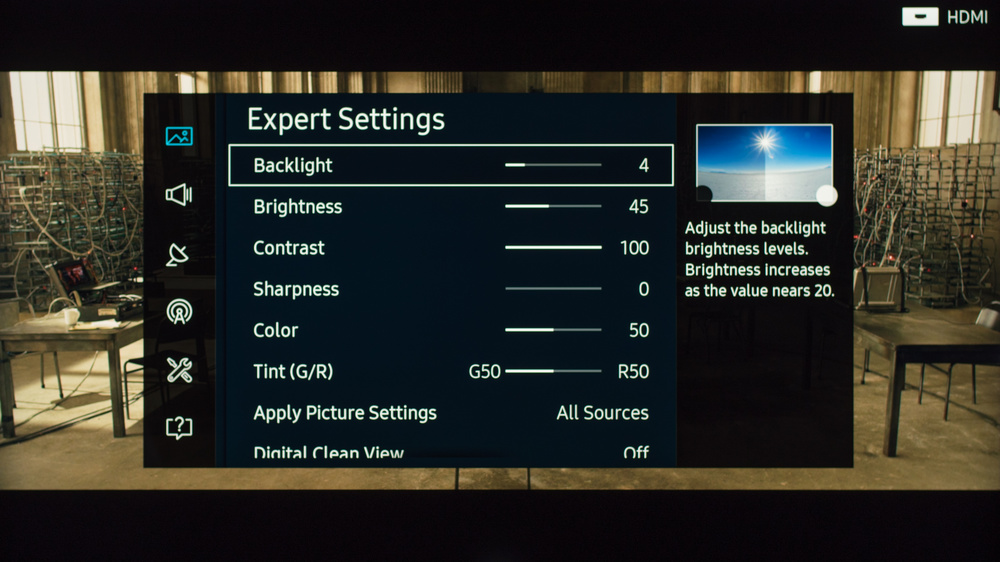
Colour control is usually set to the right settings at default, especially in the Cinema/Movie mode. It is best to leave this as is. Also leave the Tint Control as it is because without test patterns, it is difficult to tweak this setting.
Adjust Sharpness control towards the bottom of the range to get a softer image with a great deal of detail. Test it with something like hair on the characters to judge the right setting – details should still be visible. If there is any loss of detail, you have set Sharpness to too low. It is counter-intuitive, but that is how it works!
Color temperature can be tricky to adjust. The Warm mode is closest to accurate, but for someone more used to Standard Definition TVs, the reds may look too red. If available, set it to Normal or Standard mode for picture that is easier on the eyes.
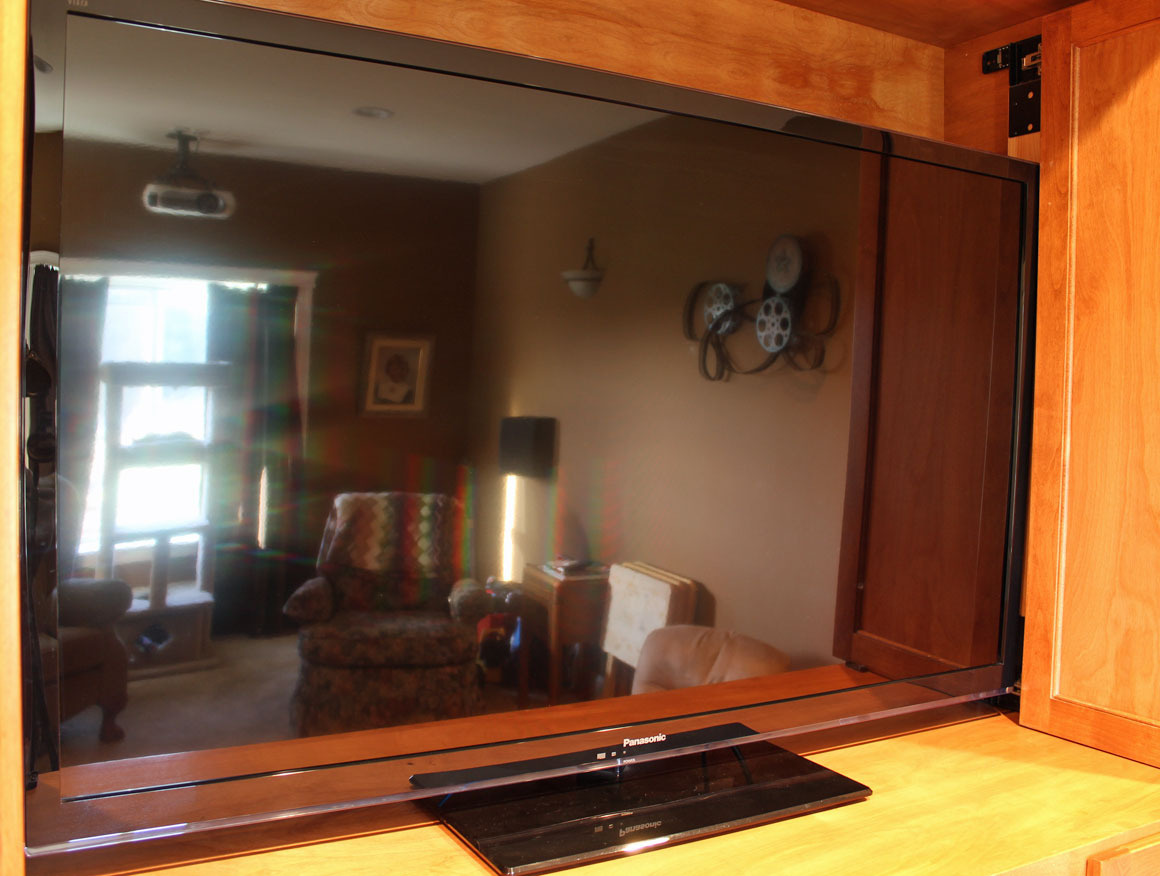
If required make changes in your room to reduce reflections on the screen. Set your TV in a place where it does not have reflection from any light source or a window for the best viewing experience.
You might still have to adjust the settings when you are watching something, but overall, these settings should work.
Discussion about this post