Last Updated on July 1, 2022 by Rupesh Patil
As promised earlier, Microsoft has finally released the Windows 11 update. The latest version of the Windows operating system is now available to everyone around the world. However, not everyone will get the update right now. Before the stable release of the new operating system, Microsoft had released several beta versions of Windows 11 to those who opted to beta-test the operating system via the Windows 11 Insider Program. Windows 11 includes tons of new features such as new a new Task Bar, a brand new design for the Start Menu, various widgets, refreshed icons, redesigned UI, an updated Microsoft Store, support for running Android apps, and much more.
Let us have a look at the PC hardware requirements suggested by Microsoft before looking at the steps that you need to perform to install Windows 11 on your computer.
What Your PC Needs For Windows 11 Update: System Requirements
If you want to update your PC or laptop to Windows 11, make sure your computer has an Intel 8th Gen or AMD Zen 2 CPU. Apart from this, your system needs to have at least 4GB of RAM, 64GB of storage, DirectX 12 compatible GPU, and Trusted Platform Module (TPM) version 2.0.
| Processor | 1GHz or faster with 2 or more cores on a compatible 64-bit processor or System on a Chip (SoC) |
| RAM | 4GB or higher |
| Storage | 64GB or higher free storage space |
| System Firmware | UEFI, Secure Boot capable |
| TPM | Trusted Platform Module (TPM) version 2.0 |
| Graphics | Compatible with DirectX 12 (or later) with WDDM 2.0 driver |
| Display | High Definition (720p) display that is bigger than 9 inches diagonally, 8-bit colour panel |
| Internet Connection & Microsoft Account | Windows 11 Home Edition requires internet connectivity and a Microsoft Account to complete device setup on first use. Switching a device out of Windows 11 Home in S mode also requires internet connectivity. For all Windows 11 editions, internet access is required to perform updates and to download and take advantage of some features. A Microsoft account is required for some features. |
How To Download And Install Windows 11 OS On Your PC
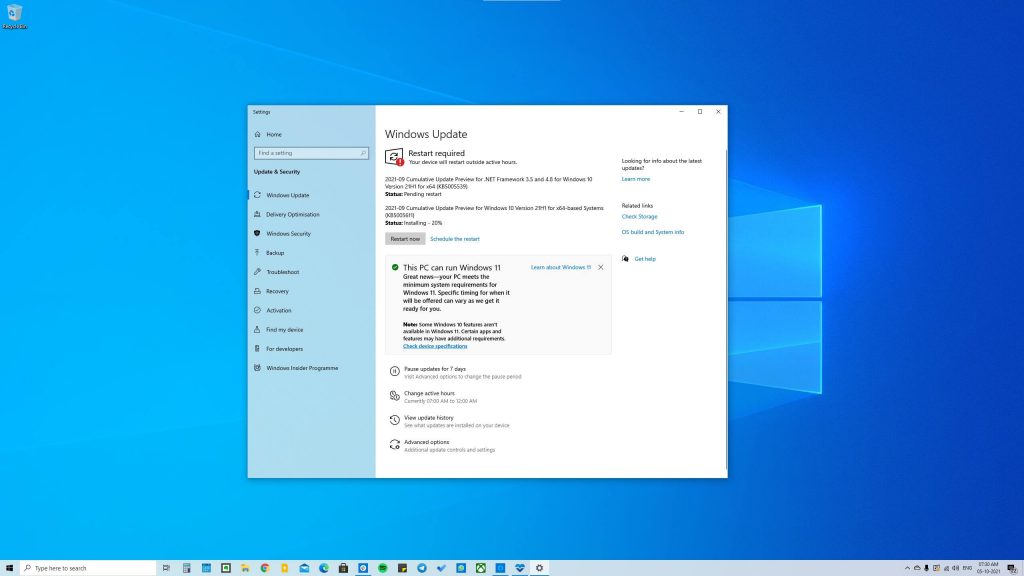
Step 1: To make sure that your computer is eligible to receive the Windows 11 operating system, you will need to download Microsoft’s PC Health app on your PC. The PC Health App will show the information if your system is eligible to receive the update following its arrival. You will need to follow the steps below if you want to update your computer to Windows 11.
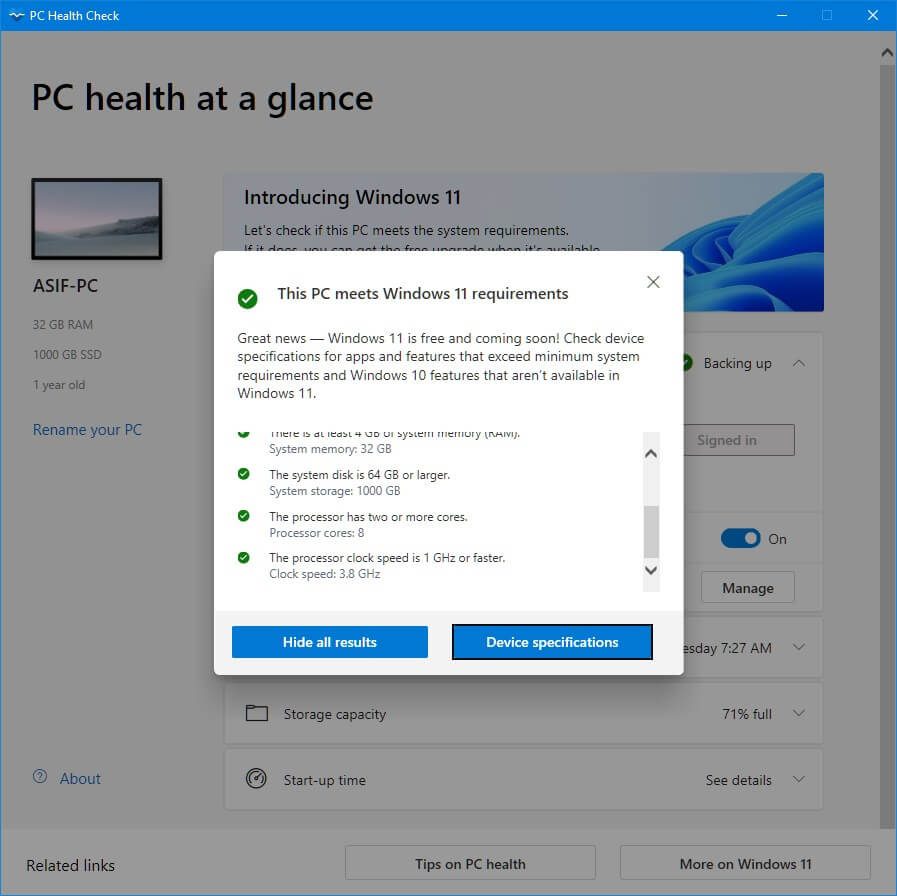
Step 2: Download the PC Health App from Microsoft’s website. Once you install the app on your computer and run it, you should be able to see a Check Now button. Click on that button, and you will know whether your PC is eligible to run Windows 11.
Step 3: If your PC is eligible to run the Windows 11 operating system, download the Windows 11 Installation Assistant tool from Microsoft’s website.
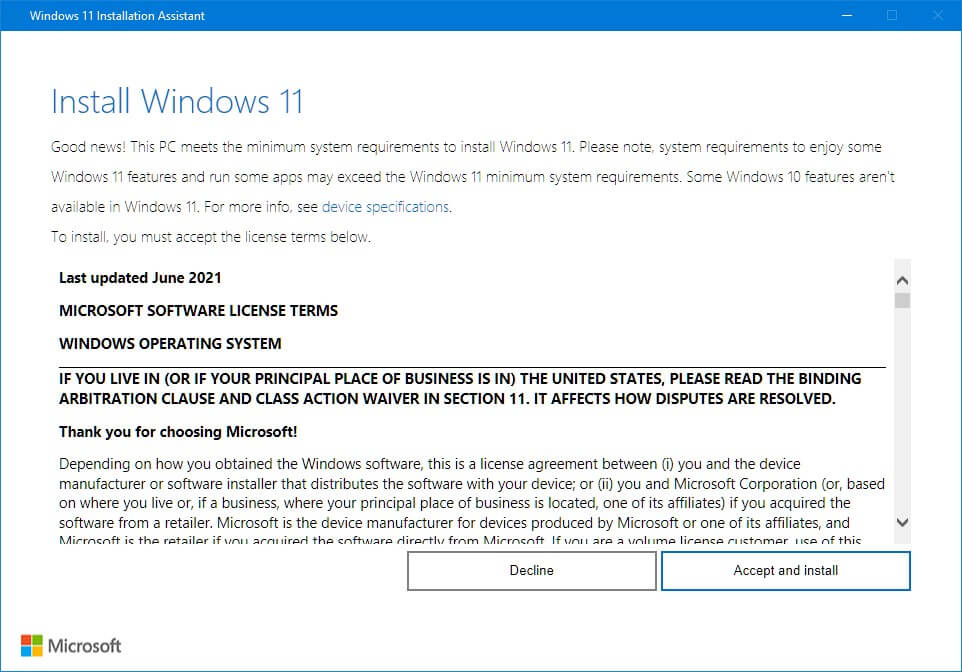
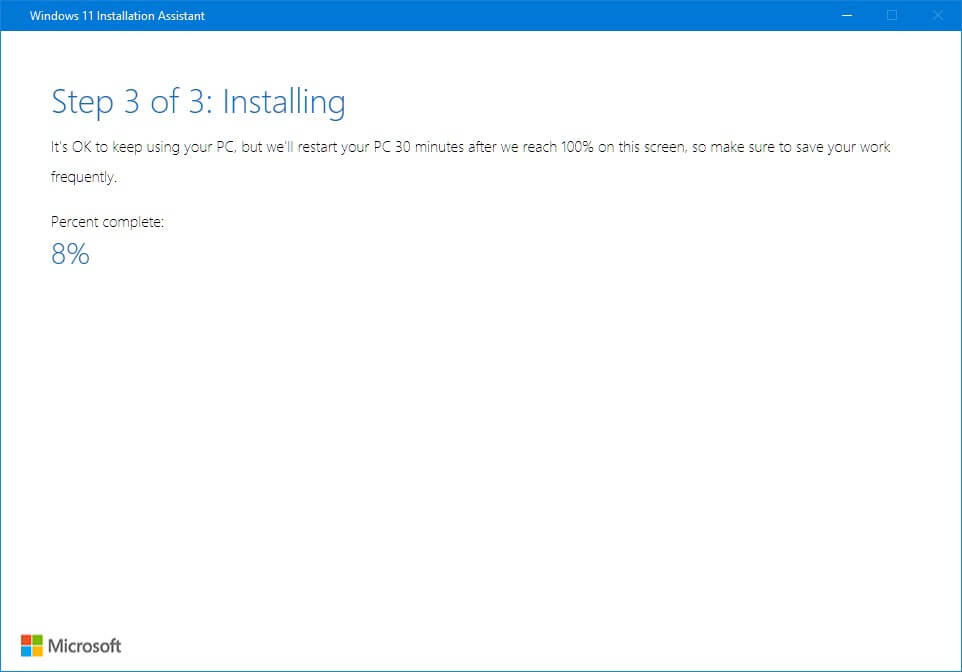
Step 4: Now, click the Accept and Install button. The installation process will now start. The tool will download the operating system, verify the downloaded files, and install the OS. This process will take a few minutes to an hour, depending on your PC’s performance.
Step 5: Once the installation is complete, click the Restart Now button.
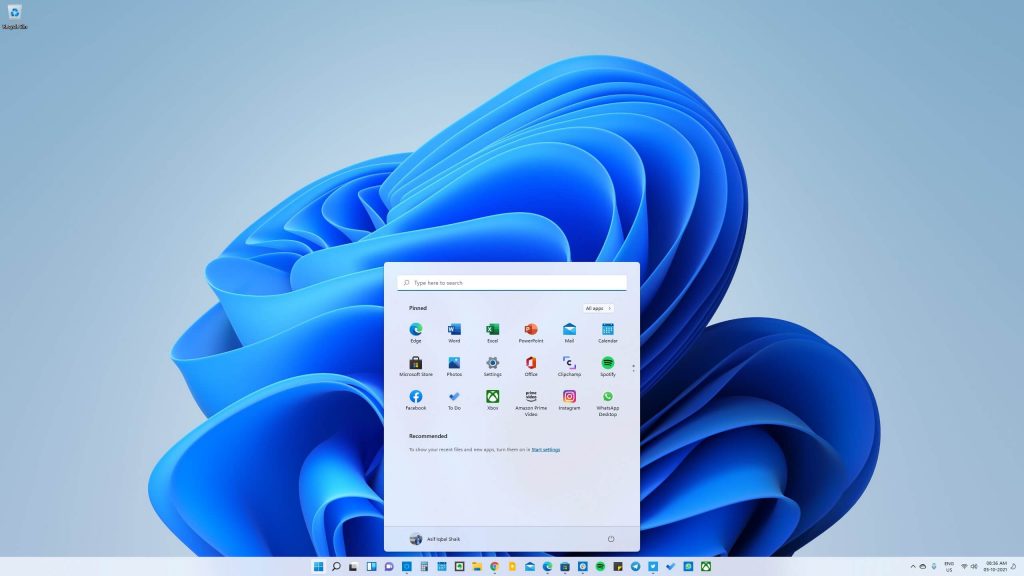
Step 6: Once your PC restarts, log in to your account, and you should now see a brand new version of Windows with the new Start Menu greeting you.
Do you want to read about all the new features of Windows 11? Head over to our detailed article here, where we have listed the best features of the Windows 11



Discussion about this post